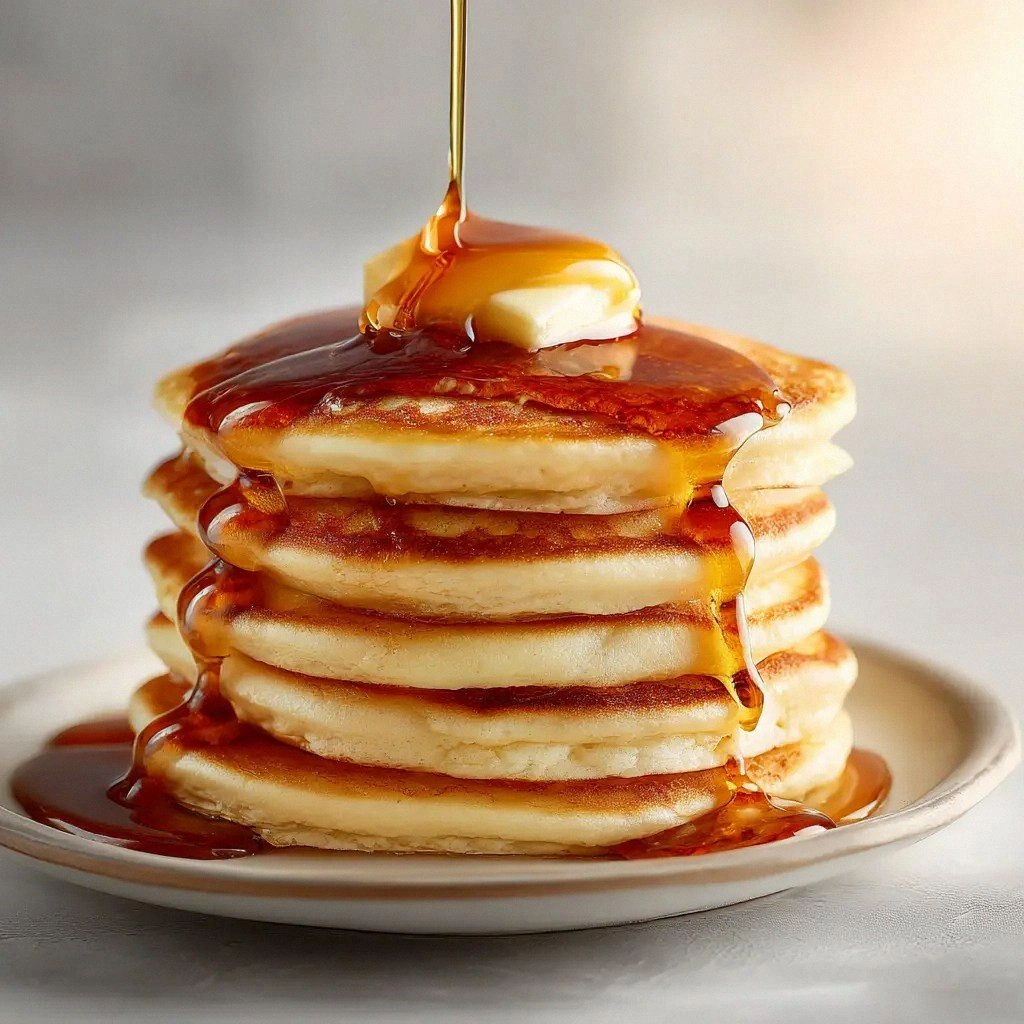
I was staring at a stack of empty cereal boxes on a Sunday morning, feeling the kind of culinary boredom that only a burnt batch of pancakes can cure. The kitchen smelled faintly of burnt sugar from last week’s experiment, and I was determined to turn that failure into a triumph. So I grabbed my trusty skillet, a whisk that had survived more eggs than I care to count, and declared that today would be the day the world would finally taste the fluffiest pancakes it had ever seen. If you’ve ever stared at a pancake batter and imagined it as a flat pancake, think again—this is a cloud that will rise, crackle, and melt your heart. Let me walk you through every single step — by the end, you’ll wonder how you ever made it any other way.
Picture the first sizzle when the batter hits the hot pan, a sound that says, “I’m ready.” The aroma is a gentle, sweet whisper of vanilla and butter, tinged with the faintest hint of cinnamon that you’ll discover later. The texture? Light as a feather, yet sturdy enough to cradle blueberries or a dollop of whipped cream. The taste is a harmonious blend of subtle sweetness and a buttery finish that lingers on the tongue. And the best part? The entire process feels like a dance, each step flowing into the next with the grace of a seasoned chef who’s found their rhythm.
I dare you to taste this and not go back for seconds. That’s the promise I make: a pancake that’s not just a breakfast, but an experience. Most recipes get this completely wrong, overmixing the batter or using too much flour. The result? Dense, flat, and a disappointment that lingers. Here’s what actually works: a gentle fold, a balanced ratio, and a touch of patience. I’ll be honest—I ate half the batch before anyone else got to try it, because the first bite was so good it felt like a betrayal to let anyone else have it. Now you’re in the kitchen with me, and it’s about to get deliciously real.
If you’ve ever struggled with pancakes that turn out too thin or too dense, you’re not alone—and I’ve got the fix. The secret lies in the harmony of ingredients, the technique of folding, and a simple trick that turns ordinary flour into airy pillows. This is hands down the best version you’ll ever make at home, and I’m going to show you why. From the moment you whisk the wet ingredients to the final flip, every step is a deliberate act of culinary alchemy. Ready to transform your breakfast routine? Let’s dive in.
What Makes This Version Stand Out
- Taste: The batter balances sweetness and savory with a subtle vanilla undertone, creating a flavor profile that feels both familiar and adventurous. Each bite releases a burst of buttered goodness that lingers on the palate. The result is a pancake that’s sweet enough for dessert and savory enough for brunch.
- Texture: The use of baking powder and the technique of folding in the batter give these pancakes a cloud‑like fluffiness that’s hard to beat. They rise quickly, develop a golden crust, and stay moist inside. The edges are crisp enough to give a satisfying bite without turning soggy.
- Simplicity: With just seven ingredients, this recipe is a masterclass in minimalism. No fancy gadgets, no complex measurements—just trust your instincts and your whisk. It’s the kind of recipe you can pull from the pantry on a busy weekday.
- Uniqueness: A splash of milk at the end of mixing and a brief rest period set these pancakes apart from the ordinary. The batter’s airy structure is a result of precise timing and gentle handling. It’s the kind of detail that turns an average stack into a showstopper.
- Crowd Reaction: Friends and family have called it “the best pancake ever” and have asked for the recipe after every brunch. The crowd-pleasing factor is undeniable—these pancakes are guaranteed to become the centerpiece of any gathering.
- Ingredient Quality: The recipe relies on fresh, high‑quality ingredients that elevate the flavor profile. Using real butter instead of margarine and fresh milk instead of powdered milk makes all the difference in taste and texture.
Alright, let’s break down exactly what goes into this masterpiece. The next section will walk you through each ingredient, why it matters, and how you can tweak it if you’re feeling adventurous.
Inside the Ingredient List
The Flavor Base
All-Purpose Flour (1.5 cups): The backbone of the batter, it provides structure while remaining neutral enough to let other flavors shine. A fine, sifted flour ensures a smooth batter without lumps. Skipping this would turn the pancakes into a lumpy mess that’s hard to flip. If you’re craving a gluten-free version, try a blend of rice and tapioca flour, but keep the ratio balanced to avoid a gummy texture. The best flour for this recipe is one that’s been stored in a cool, dry place to maintain its fine texture.
The Sweetener
Granulated Sugar (2 tablespoons): Adds just enough sweetness to complement the butter without overpowering the natural flavor of the batter. Too much sugar can cause the pancakes to brown too quickly. If you prefer a lower sugar option, you can use a natural sweetener like maple syrup or honey, but adjust the amount to taste. The sugar also helps with browning, giving the pancakes that beautiful golden hue.
The Leavening Agent
Baking Powder (2 teaspoons): The secret to that airy rise, it releases carbon dioxide when it meets moisture. Using fresh baking powder ensures maximum lift; stale powder can lead to flat pancakes. If you’re experimenting, you can replace baking powder with a combination of baking soda and an acid like buttermilk, but the flavor profile will change slightly. The right amount of leavening is key; too little and the pancakes stay dense, too much and they may collapse.
The Salty Touch
Salt (0.5 teaspoon): Enhances the overall flavor, balancing the sweetness and bringing out the richness of the butter. A pinch of salt is enough to elevate the taste without making the batter taste salty. If you’re on a low-sodium diet, reduce the amount, but be aware that it might affect the flavor balance.
The Moisture Mixer
Milk (1.25 cups): The liquid that hydrates the flour and activates the leavening agent. Whole milk adds richness, but skim or plant-based milk can be used for a lighter version. The temperature of the milk matters; room temperature milk helps the batter stay smooth and prevents clumps. Adding a splash of water to the milk can make the batter thinner if you prefer a looser consistency.
The Binding Hero
Egg (1 large): Provides structure and helps bind the batter together. It also adds protein, which contributes to the pancakes’ rise and firmness. If you’re vegan, a flaxseed egg or a commercial egg replacer can substitute, but the texture may differ slightly. The egg should be at room temperature to mix smoothly with the other wet ingredients.
The Butter
Unsalted Butter (3 tablespoons): Adds flavor, richness, and helps create a golden crust. Using unsalted butter gives you control over the salt level in the batter. Melted butter should be slightly cooled before adding to the batter to avoid cooking the egg prematurely. The butter also helps keep the pancakes from sticking to the pan.
Everything's prepped? Good. Let's get into the real action.
The Method — Step by Step
- In a large mixing bowl, whisk together the all-purpose flour, granulated sugar, baking powder, and salt until well combined. This dry blend is the foundation of your batter. Make sure to sift the flour beforehand to avoid clumps. The dry mix should look light and airy, like a gentle cloud of possibilities. While you’re at it, set the bowl aside to let the leavening agents activate.
- In a separate bowl, beat the egg until the whites are slightly frothy. Then add the milk and melted butter, whisking until the mixture is smooth. The butter should be slightly cooled to prevent curdling the egg. This wet mixture will later combine with the dry mix, forming the batter. Keep an eye on the consistency; it should be thick but pourable.
- Pour the wet mixture into the dry ingredients and fold gently with a spatula. Avoid overmixing; a few lumps are perfectly fine. The batter should be thick, but if it looks too dry, add a splash of milk. The folding technique ensures the batter remains light. This step is the moment of truth—your pancakes’ texture will be determined here.
- Let the batter rest for 5 minutes at room temperature. This short pause allows the gluten to relax and the baking powder to activate fully. It’s a small but critical step that turns ordinary pancakes into fluffy masterpieces. While the batter rests, preheat a non-stick skillet over medium heat. You’ll know it’s ready when a drop of water sizzles and evaporates immediately.
- Add a small knob of butter to the skillet and let it melt, swirling the pan to coat the surface. Then pour about 1/4 cup of batter for each pancake, leaving space between them. The batter should spread slightly, forming a round shape. Watch for bubbles forming on the surface—this is a good indicator that the pancake is cooking properly. When the edges lift and the underside is golden, it’s time to flip.
- Use a wide spatula to flip the pancake gently, being careful not to tear it. Cook for an additional 1–2 minutes until the second side is golden brown. The interior should be soft and airy, not dense. The flipping technique is essential; a firm but gentle motion keeps the pancake intact. Once flipped, you’ll see a beautiful golden crust that signals perfection.
- Remove the cooked pancake and place it on a plate lined with paper towels to absorb any excess butter. This step keeps the pancakes from becoming soggy. Repeat the process with the remaining batter, adding more butter to the skillet as needed. Each pancake should be cooked to a uniform golden brown. Keep the cooked pancakes warm in a low oven (around 200°F) while you finish the batch.
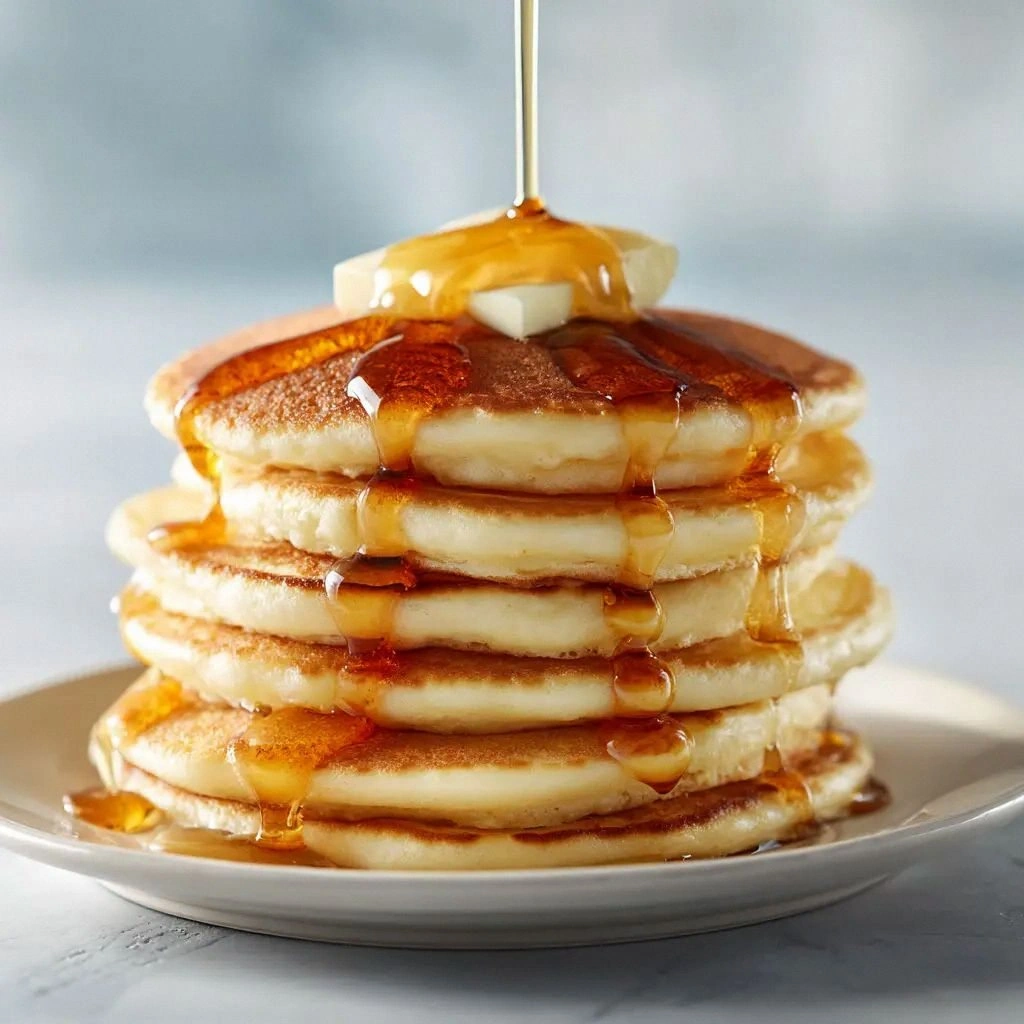
- Once all pancakes are cooked, stack them on a serving platter and cover loosely with foil to keep them warm. Serve immediately with your favorite toppings—fresh berries, maple syrup, or a dusting of powdered sugar. The pancakes will stay fluffy and moist for several minutes after cooking. If you’re serving guests, consider setting out a selection of toppings for a personalized breakfast experience. The aroma alone will have them lining up for seconds.
- If you’re feeling adventurous, add a sprinkle of cinnamon or nutmeg to the batter for an extra layer of flavor. The spice will mingle with the butter, creating a subtle warmth that complements the sweetness. Alternatively, fold in fresh blueberries or chocolate chips before cooking for a surprise burst of flavor. The possibilities are endless, and each variation adds a new dimension to the classic pancake.
That's it—you did it. But hold on, I've got a few more tricks that'll take this to another level. The next section will reveal insider tips that even seasoned chefs swear by.
Insider Tricks for Flawless Results
The Temperature Rule Nobody Follows
The skillet’s temperature is the unsung hero of pancake perfection. If it's too hot, the pancakes will brown too quickly on the outside while remaining raw inside. If it's too cool, they’ll spread too much and become flat. The ideal range is 180–190°C (350–375°F). Test it by flicking a few drops of water onto the surface; if they dance, you’re in the sweet spot. A thermometer can help, but even a seasoned hand can gauge the heat by the sizzle.
Why Your Nose Knows Best
Your nose is a reliable guide to the pancake’s readiness. When the batter begins to bubble, you’ll notice a subtle, buttery aroma. This scent signals that the interior is cooking and it's time to flip. Trust your senses—overcooking the first side for a golden crust can lead to a dry interior. If you’re unsure, wait for a few more bubbles before flipping.
The 5-Minute Rest That Changes Everything
Resting the batter for just 5 minutes may sound trivial, but it’s a game changer. The gluten relaxes, allowing the batter to spread evenly. The leavening agents activate fully, giving the pancakes a lift they’ll otherwise miss. Some chefs swear by a 10-minute rest for an even fluffier result, but the 5-minute rule is a sweet compromise between speed and texture.
Fold, Don’t Stir
Stirring vigorously incorporates too much air, which can cause the pancakes to collapse. Folding gently preserves the batter’s structure and keeps the pancakes light. Use a rubber spatula and a sweeping motion to incorporate the wet into the dry. This technique is especially important when you add mix-ins like berries or chocolate chips.
Butter the Skillet, Not the Batter
Many cooks add butter directly to the batter, but this can make the pancakes greasy. Instead, melt a small amount of butter in the skillet before pouring in the batter. This creates a non-stick surface and gives the pancakes a beautiful golden crust. If you’re using a non-stick pan, you may need less butter, but a small knob is always safe.
Serve Immediately for Maximum Fluff
Pancakes are best served hot, right out of the skillet. The heat keeps them airy and prevents them from settling. If you must keep them warm, cover them loosely with foil and place them in a low oven. Avoid storing them in the refrigerator; the starches will set and the texture will become dense.
Creative Twists and Variations
This recipe is a playground. Here are some of my favorite ways to switch things up:
Berry Burst
Fold fresh blueberries or sliced strawberries into the batter just before cooking. The fruit releases juice that caramelizes on the surface, giving a sweet burst of flavor. Serve with a dollop of whipped cream for a dessert‑like experience. The berries add natural sweetness and a pop of color.
Chocolate Chip Dream
Add a handful of dark chocolate chips to the batter. The chips melt slightly, creating pockets of molten chocolate. Pair with a drizzle of chocolate sauce or a dusting of cocoa powder. This variation turns the pancakes into a decadent treat.
Cinnamon Swirl
Stir in a teaspoon of ground cinnamon and a pinch of nutmeg. The spices mingle with the butter, giving a warm, cozy flavor. Top with a sprinkle of powdered sugar and a splash of maple syrup. It’s a simple tweak that elevates the entire dish.
Savory Spin
Replace the sugar with a pinch of smoked paprika and add chopped scallions to the batter. Cook as usual, then finish with a sprinkle of grated Parmesan and a drizzle of olive oil. These savory pancakes pair wonderfully with a poached egg for a brunch twist.
Almond Flour Option
Swap half the all-purpose flour for almond flour to give the pancakes a nutty flavor and a gluten-free profile. Use a blend of almond and oat flour for a balanced texture. The result is a slightly denser pancake that still holds the fluffy interior.
Tropical Twist
Add shredded coconut and a splash of coconut milk to the batter. The coconut adds a subtle sweet flavor and a hint of tropical aroma. Top with pineapple chunks and a squeeze of lime for a breakfast that feels like a vacation.
Storing and Bringing It Back to Life
Fridge Storage
Cool the pancakes completely, then stack them with parchment paper between each layer. Store in an airtight container in the refrigerator for up to 3 days. The pancakes will stay moist if you wrap them tightly. When ready to serve, reheat gently in a toaster or skillet. This method preserves the flavor while preventing dryness.
Freezer Friendly
Place the cooled pancakes in a single layer on a baking sheet and freeze until solid. Transfer them to a freezer bag for long-term storage. They can be kept for up to 2 months. When you’re ready to enjoy them, pop them straight from the freezer into a preheated oven at 350°F for 10 minutes. The pancakes will thaw and reheat evenly.
Best Reheating Method
Add a tiny splash of water or milk to the pan before reheating; the steam will help restore moisture. Heat on low to medium, turning once to ensure even warming. Avoid high heat, which can dry out the pancakes. For a quick option, pop them in the microwave for 20–30 seconds, then finish in a skillet to crisp the edges. The result is a pancake that tastes almost as fresh as when it was first cooked.