I’ll be honest — the first time I tried to make a “black velvet” cupcake, I ended up with a flat, sad pancake that looked more like a midnight shadow than a celebration‑ready treat. That disaster sparked a dare from my roommate: “Make a cupcake that looks like a black night sky and tastes like a chocolate dream, and I’ll buy you a latte.” I accepted, and what followed was a series of trial‑and‑error experiments that finally birthed the recipe you’re about to read. Picture yourself pulling these from the oven, the whole kitchen smelling like a rich, dark chocolate‑coffee blend, the frosting glistening with a midnight hue, and the first bite melting like velvet against your tongue. That moment, when the cupcake’s crumb is so tender it practically sighs under the fork, is pure, unadulterated joy.
The secret? It’s a marriage of two cocoa powders, a splash of hot brewed coffee that deepens the chocolate without tasting like coffee, and a generous dollop of sour cream that keeps the crumb moist and slightly tangy. Most recipes either skimp on the cocoa or over‑sweeten, resulting in a cake that feels like a sugar bomb rather than a sophisticated dessert. I’ve also discovered that the order in which you combine wet and dry ingredients can make or break the texture — a lesson learned the hard way after a batch turned out dense as a brick. This version stands out because it balances bold flavor, airy crumb, and a frosting that’s as smooth as a satin sheet.
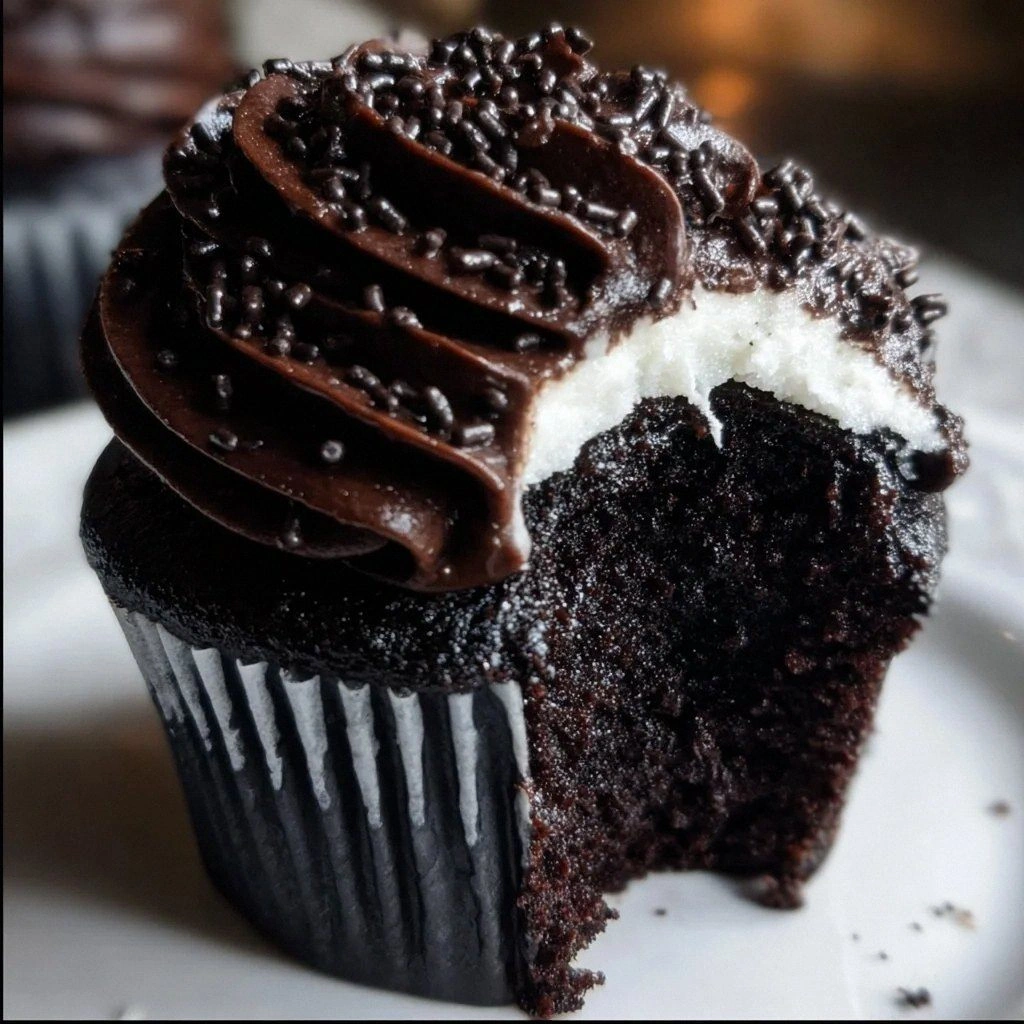
But the real game‑changer is the butter‑cream frosting that incorporates black cocoa powder and a splash of heavy cream, giving it a silk‑like consistency that never collapses under the weight of the cupcake. And because I love a little drama, I garnish with colored sprinkles and eyeball candies for a Halloween‑ready, yet all‑season, visual punch. I dare you to taste this and not go back for seconds; the combination of deep chocolate, subtle coffee notes, and buttery frosting is practically addictive. Ready for the adventure? Let me walk you through every single step — by the end, you’ll wonder how you ever made it any other way.
What Makes This Version Stand Out
- Deep Flavor: The duo of Dutch‑processed and black cocoa powders creates a chocolate intensity that rivals boutique bakery offerings, while the coffee adds a hidden depth that’s surprisingly subtle.
- Moist Crumb: Sour cream and vegetable oil work together to keep the cupcakes moist for days, so you can bake ahead without sacrificing texture.
- Simple Technique: No fancy equipment required; everything can be done with a handheld mixer and a standard 12‑cup muffin tin.
- Visual Drama: The black hue of the batter paired with glossy black‑cocoa buttercream makes these cupcakes the star of any party, especially when you add the playful eyeball candies.
- Versatile Crowd‑Pleaser: Whether you’re serving kids, adults, or the picky eaters who think “chocolate” means “brown”, this recipe wins over every palate.
- Ingredient Quality: Using cake flour and Dutch‑processed cocoa ensures a tender crumb, while the fine sea salt amplifies every flavor note.
- Effortless Make‑Ahead: The cupcakes freeze beautifully, and the frosting can be made a day in advance, saving you stress on the big day.
- Balanced Sweetness: Dark brown sugar adds moisture and a caramel undertone, preventing the cupcakes from becoming overly sweet.
Inside the Ingredient List
The Flavor Base
Cake Flour: This creates a lighter texture, making our cupcakes airy. It has a lower protein content than all‑purpose flour, which means less gluten formation and a softer crumb. If you substitute all‑purpose flour, expect a denser texture. Look for a brand that’s sifted; it saves you a step and ensures even distribution.
Granulated Sugar: A classic sweetener that adds just the right touch of sweetness. It also helps with the creaming process, creating tiny air pockets that lift the batter. For a deeper flavor, you could swap half with demerara sugar, but keep the total volume the same.
Dark Brown Sugar: Packed with moisture and flavor, it enhances the rich chocolate taste. The molasses in brown sugar contributes a subtle caramel note that balances the bitterness of the cocoa. If you’re out of brown sugar, melt white sugar with a tablespoon of molasses.
The Texture Crew
Baking Powder & Baking Soda: These leavening agents work together to give a perfect lift, ensuring they’re just the right amount of puffy. Baking powder provides the primary rise, while a pinch of baking soda reacts with the coffee’s acidity for extra fluff. Over‑mixing can deflate the batter, so add them with the dry ingredients and stir just until combined.
Fine Sea Salt: A pinch brightens the flavors and balances the sweetness. Salt is the unsung hero that makes chocolate taste chocolate. Use a fine grain so it dissolves completely; flaky sea salt can leave crunchy specks.
Unsalted Butter (room temperature): It creates a creamy consistency and amazing flavor. The butter should be soft enough to leave an imprint when pressed with a finger, but not melted. If it’s too soft, the batter can become greasy; if too hard, it won’t incorporate air.
The Unexpected Star
Hot Brewed Coffee: Surprising, right? It deepens the chocolate flavor without tasting like coffee. The hot liquid also helps dissolve the cocoa powders, ensuring a smooth batter. Use a strong brew — think espresso strength — for maximum impact.
Dutch‑Processed Cocoa Powder: This gives a bold chocolate taste, rich in color. It’s alkalized, which means it’s less acidic and yields a smoother, richer flavor. If you only have natural cocoa, you can add a pinch of baking soda to neutralize acidity.
Black Cocoa Powder: Adds a dark hue, making our cupcakes ‘black velvet’ in appearance. It’s essentially cocoa that’s been further alkalized, giving an almost black color. Use it sparingly; a little goes a long way.
The Final Flourish
Sour Cream: It adds moisture and a slightly tangy note that balances the sweetness. The acidity also reacts with the leaveners for a lighter crumb. Full‑fat sour cream works best; low‑fat versions can make the batter too dry.
Whole Milk: Enhances moisture and complements the sour cream for a tender crumb. Milk also helps dissolve sugar and salt evenly. If you’re dairy‑free, almond milk works, but the texture will be a shade lighter.
Egg (room temperature): Provides structure and richness; be sure it’s at room temperature for best results. Cold eggs can cause the butter to seize, leading to a grainy texture. Beat the eggs lightly before adding to the batter.
Vegetable Oil: Keeps the cupcakes moist; never underestimate oil in baking! Oil stays liquid at room temperature, so it prevents the cupcakes from drying out as they cool. Use a neutral‑flavored oil like canola or grapeseed.
Vanilla Extract: A universal favorite, it adds warmth and a homemade touch. Real vanilla extract (not imitation) makes a noticeable difference in flavor depth.
Everything's prepped? Good. Let's get into the real action...
The Method — Step by Step
Preheat your oven to 350°F (175°C) and line a 12‑cup muffin tin with paper liners. While the oven warms, give the butter a quick whisk until it’s pale and fluffy — this is the foundation of our airy crumb. The room‑temperature butter should hold a soft peak when you lift the whisk, indicating it’s ready to trap air.
Kitchen Hack: Add a splash of espresso to the butter while creaming; it intensifies chocolate flavor without adding a coffee taste.In a separate bowl, whisk together the cake flour, both cocoa powders, baking powder, baking soda, and sea salt. This ensures the cocoa powders are evenly distributed and prevents clumps that could turn your batter into a lumpy mess.
Combine the granulated sugar and dark brown sugar with the creamed butter, beating on medium speed until the mixture lightens in color and volume, about 3‑4 minutes. This step is crucial; the sugar crystals help aerate the butter, creating tiny pockets that will expand in the oven.
Watch Out: Over‑creaming can cause the batter to become too loose, leading to a flat cupcake.Add the eggs one at a time, beating well after each addition. Then stir in the vanilla extract. The batter should look glossy and slightly thick.
Create a well in the center of the dry ingredients and pour in the hot brewed coffee, whole milk, and vegetable oil. Gently fold the wet mixture into the dry using a spatula, alternating with the sour cream. The batter will be thick, dark, and almost velvety — that’s exactly what we want.
Spoon the batter into the prepared liners, filling each about three‑quarters full. This allows room for the cupcakes to rise without spilling over. The batter should spread slowly; if it’s too stiff, add a teaspoon of milk.
Bake for 18‑22 minutes, or until a toothpick inserted into the center comes out with a few moist crumbs but no wet batter. The edges will start pulling away from the liner, and the tops will have a subtle crack that looks like a midnight sky.
While the cupcakes cool in the pan for 5 minutes, prepare the buttercream. Beat the unsalted butter until it’s light and fluffy, then gradually add powdered sugar, black cocoa powder, heavy cream, vanilla paste, and a pinch of salt. Beat on high for 2‑3 minutes until the frosting is silky and holds soft peaks.
Transfer the cupcakes to a wire rack to cool completely before frosting. Once cool, pipe or spread the buttercream generously, then sprinkle colored sprinkles and place eyeball candies on top for a playful finish. The frosting should glide smoothly, leaving a glossy, midnight‑black finish.
That's it — you did it. But hold on, I've got a few more tricks that'll take this to another level. Trust me, the next steps are pure magic and will make your cupcakes the talk of any gathering.
Insider Tricks for Flawless Results
The Temperature Rule Nobody Follows
Never bake cupcakes straight from the fridge. Let the batter sit at room temperature for 10 minutes before filling the liners. This prevents a “shocked” batter that can cause uneven rising. I once tried skipping this step and ended up with a sunken center — a disaster that taught me to respect batter temperature.
Why Your Nose Knows Best
When the cupcakes are in the oven, listen for a faint “crackle” sound as the tops set. That subtle noise means the crust is forming, which locks in moisture. If you hear a loud pop, the cupcakes are likely over‑baking and will dry out. Trust your senses more than the timer.
The 5‑Minute Rest That Changes Everything
After removing the cupcakes from the oven, let them rest in the pan for exactly five minutes before transferring to a wire rack. This short rest allows the steam to finish the cooking process gently, preventing a gummy bottom. Skipping this step results in a soggy base that ruins the texture.
Buttercream Temperature Trick
If your buttercream looks too runny, pop it in the fridge for 10‑15 minutes, then re‑whip. This firms the butter without chilling the sugar, preserving that silky mouthfeel. I once over‑whipped the frosting, and it turned grainy; the chill‑re‑whip saved the day.
The Final Dust
Just before serving, lightly dust the frosting with a pinch of cocoa powder. It adds a sophisticated matte finish that contrasts the glossy frosting, and it intensifies the chocolate aroma. This tiny step elevates the visual appeal from “great” to “wow‑worthy”.
Creative Twists and Variations
This recipe is a playground. Here are some of my favorite ways to switch things up:
Midnight Mint
Add 1 teaspoon of peppermint extract to the batter and swap half of the black cocoa for green cocoa powder. Top with a mint‑flavored buttercream and garnish with chocolate shavings. Perfect for a holiday twist.
Spiced Autumn
Incorporate ½ teaspoon of cinnamon, ¼ teaspoon of nutmeg, and a dash of pumpkin spice into the dry mix. Replace coffee with strong brewed espresso for extra depth. Serve with a dollop of whipped cream and toasted pecans.
White Chocolate Velvet
Swap the black cocoa powder for white chocolate chips and increase the vanilla extract to 2 teaspoons. Frost with a vanilla bean buttercream and garnish with edible gold leaf for an elegant finish.
Mocha Madness
Replace half of the coffee with strong brewed espresso and add 1 tablespoon of instant coffee granules to the batter. Top with a coffee‑infused buttercream and drizzle with dark chocolate ganache.
Gluten‑Free Velvet
Use a 1:1 gluten‑free flour blend in place of cake flour. Add 1 tablespoon of xanthan gum to mimic the structure. The texture will be slightly denser but still delightfully moist.
Storing and Bringing It Back to Life
Fridge Storage
Place cooled cupcakes in an airtight container and store them in the refrigerator for up to 5 days. The frosting may firm up; let them sit at room temperature for 20 minutes before serving.
Freezer Friendly
Wrap each cupcake individually in plastic wrap, then place them in a zip‑top freezer bag. They’ll keep for up to 3 months. To reheat, remove the wrap, place on a microwave‑safe plate, and heat for 15‑20 seconds, adding a tiny splash of water to the plate to create steam.
Best Reheating Method
For a freshly‑baked feel, preheat your oven to 300°F (150°C), arrange the cupcakes on a baking sheet, and warm for 5‑7 minutes. The added water trick (a few drops on the tray) creates a gentle steam that revives the crumb without drying it out.