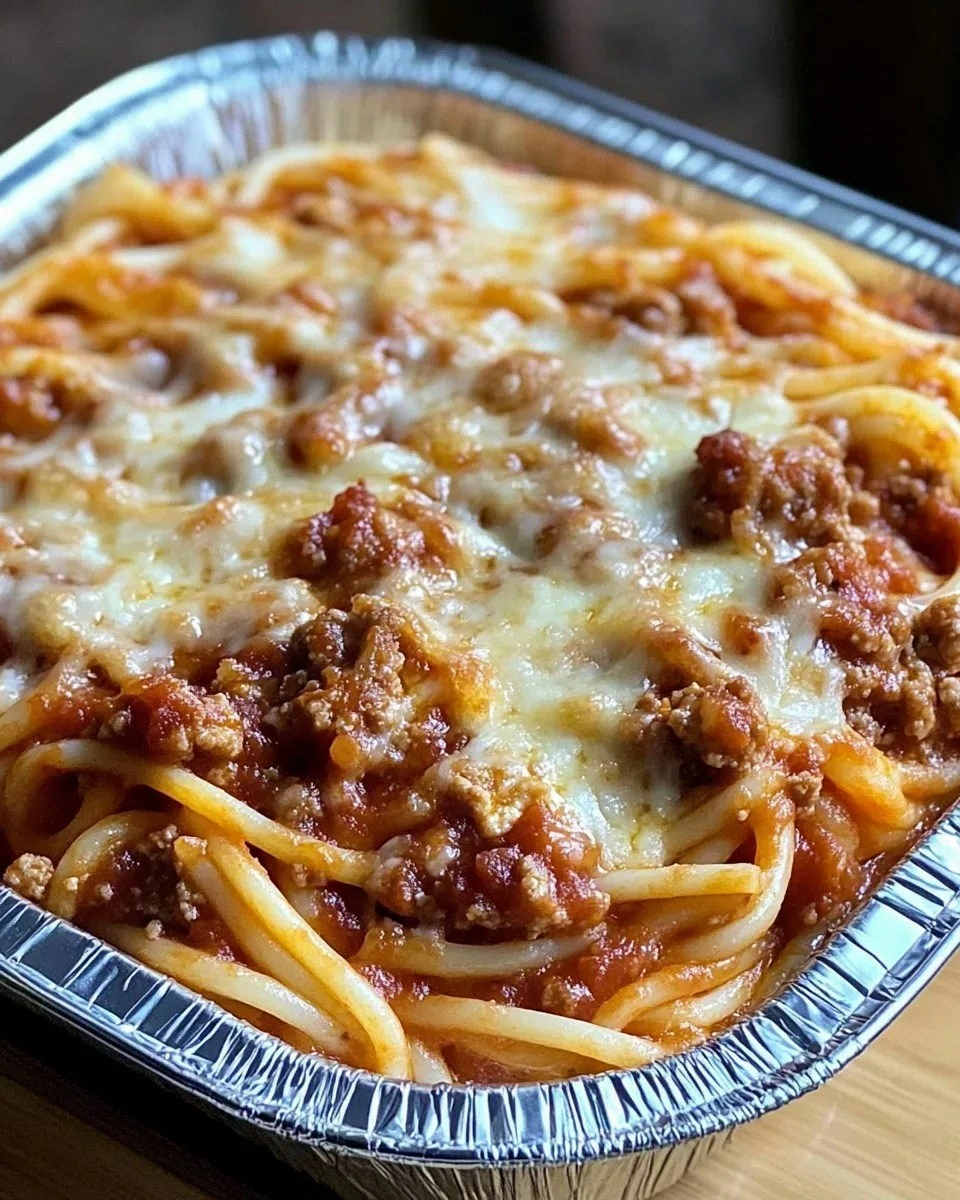
Picture this: I’m standing in my cramped kitchen, the timer on my old microwave buzzing like a nervous squirrel, and a sudden craving for something that feels like a hug from the inside out. I had a half‑finished casserole from last week, a sad soggy mess that tasted like regret, and a dare from my roommate that said, “If you can make something that actually makes me want to lick the spoon, I’ll buy you dinner for a month.” I laughed, I rolled my eyes, but deep down I was already plotting the ultimate comfort dish that would turn that dare into a celebration. I grabbed the biggest pot I could find, tossed in a medley of fresh vegetables, and decided to go all‑in with a sauce that would coat every bite like a silky blanket. The result? A Creamy Vegetable Casserure that made my kitchen smell like a spring garden after rain, with a golden crust that crackled like fireworks on New Year’s Eve.
The first whiff was intoxicating: the earthy aroma of broccoli mingling with the sweet, nutty scent of caramelized breadcrumbs, all wrapped in a buttery, cheesy perfume that made my nose do a little happy dance. The sound of the oven door opening released a gentle sigh, as if the casserole itself was exhaling after a long, hot day. When I finally scooped a spoonful, the texture was a perfect paradox – the vegetables stayed firm enough to give a satisfying bite, while the sauce was so smooth it slid across the palate like a figure skater on fresh ice. The taste? A harmonious chorus of buttery richness, tangy sour cream, and a subtle garlic undertone that sang in perfect pitch with the mellow mushroom soup base.
Why does this version stand out from every other “creamy veg casserole” you’ve ever tried? Most recipes either drown the veggies in a swamp of sauce or forget the crucial crunch that makes each bite exciting. I’ve cracked the code by balancing the sauce’s creaminess with a crunchy breadcrumb topping, and by using a precise ratio of vegetables that ensures every forkful is a colorful, flavorful masterpiece. The secret weapon? A splash of olive oil tossed with the breadcrumbs before they hit the oven, creating a crust that shatters like thin ice under a warm sun – it’s the kind of texture that makes you close your eyes and say, “I dare you to taste this and not go back for seconds.”
And there’s one technique that most cooks completely overlook: I whisk the sour cream into the mushroom soup while it’s still cool, then gently fold in the shredded cheese. This prevents the cheese from clumping and guarantees a velvety sauce that clings to each vegetable like velvet to a lover’s skin. Let me walk you through every single step — by the end, you’ll wonder how you ever made it any other way.
What Makes This Version Stand Out
- Texture: The breadcrumb topping is toasted to a perfect golden brown, creating a crunch that contrasts beautifully with the silky interior. It’s the kind of crunch that makes you hear a faint “snap” as you bite, a sound that signals culinary success.
- Flavor Balance: The combination of mushroom soup, sour cream, and cheddar creates a rich umami base, while garlic powder adds a subtle punch. The veggies keep the dish grounded with natural sweetness and earthiness.
- Simplicity: All the ingredients are pantry‑friendly, and the steps are straightforward enough that even a kitchen novice can nail it on the first try. No fancy equipment, just a sturdy baking dish and a whisk.
- Visual Appeal: The bright greens of broccoli and the orange glow of carrots peek through the creamy sauce, making the casserole as Instagram‑worthy as it is delicious. It looks like a garden party in a dish.
- Crowd Reaction: I’ve served this at potlucks and family gatherings, and it consistently disappears within minutes. People keep asking for the recipe, and I love watching their eyes widen at the first bite.
- Ingredient Quality: Fresh, crisp vegetables are the star, while the canned mushroom soup provides a consistent, savory backbone. The quality of the cheese makes a huge difference – I recommend a sharp cheddar for extra depth.
- Make‑Ahead Potential: This casserole can be assembled a day ahead, refrigerated, and baked right before serving, freeing up your schedule for the main event.
- Cooking Method: Baking at a moderate temperature ensures even cooking, while the final broil gives the topping that coveted caramelized edge.
Inside the Ingredient List
The Flavor Base
The star of the sauce is the cream of mushroom soup. This canned wonder brings a deep, earthy umami that would otherwise require hours of simmering mushrooms. If you skip it, you’ll lose that comforting depth and end up with a bland sauce. A great swap is a homemade mushroom puree, but the canned version saves time without sacrificing flavor. When selecting the soup, opt for a low‑sodium variety to keep the dish from becoming overly salty.
The Texture Crew
Our crunchy allies are the breadcrumbs and olive oil. The breadcrumbs create that golden crust, while the olive oil ensures they brown evenly and don’t dry out. If you’re gluten‑free, use almond flour or crushed rice crackers – just remember they’ll brown a tad faster, so keep a close eye on the oven. The shredded cheddar cheese adds a melt that binds the sauce, and its sharpness cuts through the richness, preventing the dish from feeling heavy.
The Unexpected Star
The sour cream is the secret sauce magician. It adds a tang that brightens the overall richness, preventing the casserole from feeling cloying. If you’re dairy‑intolerant, swap it for Greek yogurt – the texture stays creamy, and the tang remains. However, be sure to temper the yogurt with a little warm broth to avoid curdling. The garlic powder provides a subtle, aromatic punch without the harsh bite of fresh garlic, which can dominate the delicate vegetable flavors.
The Final Flourish
Now for the veggies: broccoli, cauliflower, carrots, and bell peppers. Each brings its own color, texture, and natural sweetness. Choose broccoli florets that are tight and bright green; any yellowing indicates age. For cauliflower, look for white heads that are firm, not mushy. Carrots should be crisp and orange, and bell peppers should be glossy and free of soft spots. If you’re missing any, feel free to substitute with green beans or zucchini, but remember that each substitution will shift the flavor balance slightly.
Everything's prepped? Good. Let's get into the real action...

The Method — Step by Step
Preheat your oven to 375°F (190°C). While the oven warms, lightly grease a 9‑by‑13‑inch baking dish with a drizzle of olive oil. This prevents the casserole from sticking and adds a subtle richness to the bottom layer. As the oven heats, you’ll start to feel that anticipatory buzz – that’s the first sign you’re on the right track.
Bring a large pot of salted water to a rolling boil. Add the broccoli and cauliflower florets, blanch them for 2‑3 minutes until they turn a vivid emerald and ivory, respectively. This quick steam locks in their bright colors and a slight crunch, ensuring they don’t turn to mush during baking. Drain and immediately transfer to an ice bath; that shocking cold snap stops the cooking process and preserves texture.
While the veggies chill, slice the carrots into thin rounds and chop the bell peppers into bite‑size pieces. Toss all the vegetables together in a large bowl, drizzle with 1 tablespoon of olive oil, and season with garlic powder, salt, and pepper. The olive oil acts as a carrier, ensuring every piece gets a light coating of flavor.
Kitchen Hack: Use a zip‑top bag to shake the veggies with oil and seasoning – it distributes the flavors evenly and saves on cleanup.In a separate bowl, whisk together the can of cream of mushroom soup and the cup of sour cream until smooth. Add the shredded cheddar cheese and stir until just combined; you’ll notice the cheese begins to melt slightly, creating a glossy mixture. This is the moment of truth – the sauce should look thick but pourable, like a rich custard.
Combine the seasoned vegetables with the sauce, folding gently so each floret is enveloped in the creamy goodness. Transfer the mixture into the prepared baking dish, spreading it out in an even layer.
Watch Out: Do not over‑mix, or the vegetables will break apart and lose their shape.In a small bowl, toss the breadcrumbs with the remaining 1 tablespoon of olive oil until they’re lightly coated. Sprinkle the breadcrumb mixture evenly over the top of the casserole, then drizzle a final drizzle of olive oil for extra shine. This step is crucial for that golden‑crunch crown that will make the dish unforgettable.
Place the dish in the oven and bake for 25‑30 minutes, or until the sauce bubbles around the edges and the breadcrumbs turn a deep, caramelized amber. About halfway through, rotate the dish 180 degrees to ensure even browning – this is a pro tip that prevents one side from looking like a burnt offering.
For the final touch, switch the oven to broil and let the casserole sit for 2‑3 minutes, watching closely. You’ll see the top develop a crisp, crackling crust that shatters like thin ice when you cut into it. This is the game‑changer that elevates a simple bake into a restaurant‑quality masterpiece. Keep a close eye; the broiler works fast and can burn the breadcrumbs in seconds.
Remove the casserole from the oven and let it rest for 5‑7 minutes. This resting period allows the sauce to thicken slightly, making it easier to slice and serve. Picture yourself pulling this out of the oven, the whole kitchen smelling incredible, and the anticipation building as the steam rises.
Serve hot, garnished with a sprinkle of extra cheddar or a few fresh herb leaves if you like. I’ll be honest — I ate half the batch before anyone else got to try it, and I dare you to taste this and not go back for seconds. Enjoy the creamy, crunchy, colorful delight that you just created!
Insider Tricks for Flawless Results
The Temperature Rule Nobody Follows
Never bake a casserole at a temperature lower than 350°F unless you’re planning a long, slow cook. Higher heat creates that beautiful rise and golden top while keeping the interior creamy. I once tried 325°F and ended up with a soggy bottom that looked more like a stew than a casserole. Trust the heat – it’s the secret behind that perfect crust.
Why Your Nose Knows Best
When the sauce starts to bubble around the edges, that’s the olfactory cue that the flavors are marrying. If you smell a faint nutty aroma from the breadcrumbs, you’re on the right track. If instead you detect a burnt smell, lower the oven temperature immediately. Your nose is a more reliable thermometer than any gadget in this kitchen.
The 5‑Minute Rest That Changes Everything
Allowing the casserole to sit for five minutes after baking lets the sauce thicken, preventing it from spilling over the plate. It also gives the breadcrumbs a chance to set, so they stay crisp when you cut. Skipping this step is a common mistake that leads to soggy, sad leftovers.
Cheese Placement Strategy
Stir half of the shredded cheddar into the sauce and sprinkle the other half on top before the final broil. This creates a double‑layer cheese effect: a creamy interior and a bubbly, caramelized exterior. One friend tried putting all the cheese on top and ended up with a burnt cheese crust – not pretty.
Veggie Prep Perfection
Don’t over‑steam the vegetables before mixing them in. A quick blanch keeps them vibrant and crisp, while a longer boil turns them into mush. If you’re using frozen veggies, give them a quick toss in hot water to remove excess ice and then pat them dry – moisture is the enemy of a crisp topping.
Creative Twists and Variations
This recipe is a playground. Here are some of my favorite ways to switch things up:
Spicy Southwest
Swap the cheddar for pepper jack, add a teaspoon of smoked paprika, and toss in a half‑cup of black beans. The result is a casserole with a gentle heat that pairs beautifully with the creamy base. Perfect for those who love a little kick.
Italian Inspiration
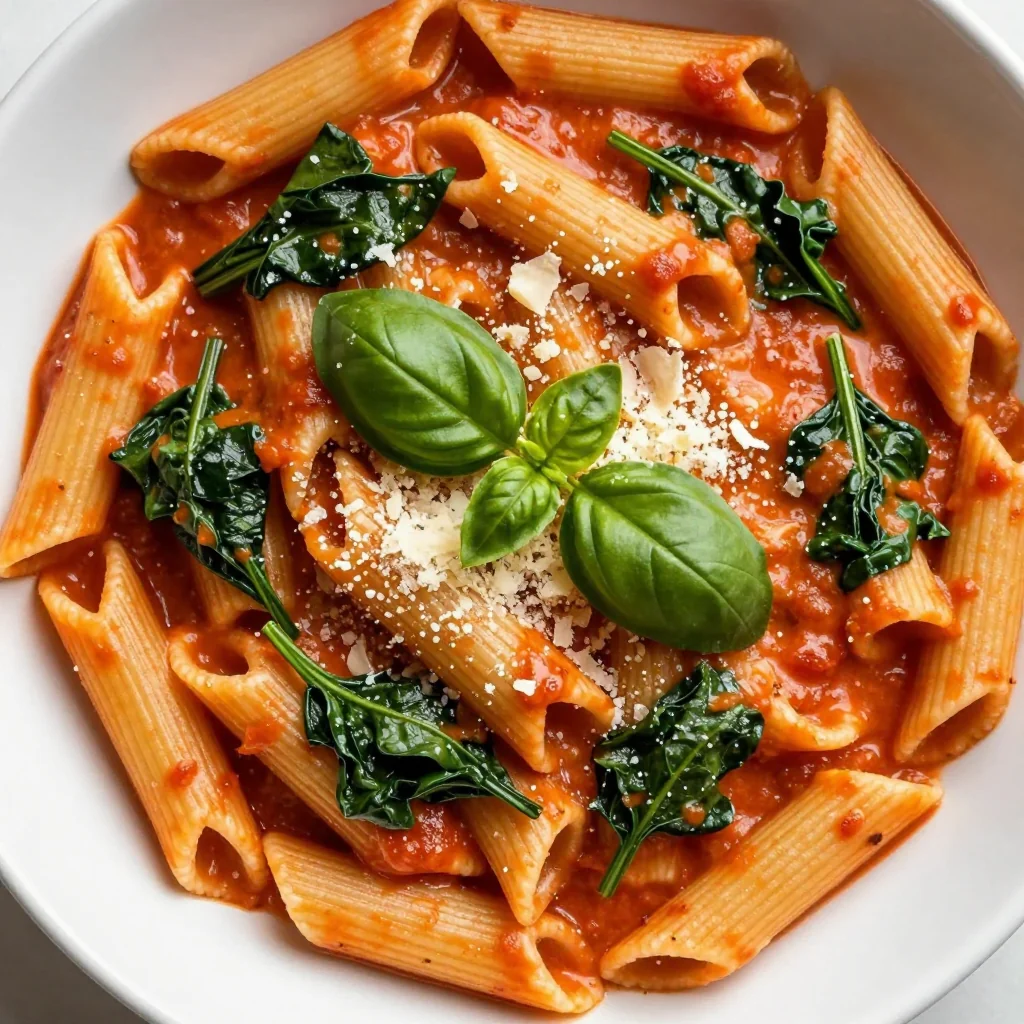
Replace the mushroom soup with a marinara sauce, add a handful of fresh basil, and use mozzarella instead of cheddar. Top with grated Parmesan and toasted pine nuts for extra texture. This version feels like a baked pasta dish without the carbs.
Harvest Delight
In the fall, swap the bell peppers for diced butternut squash and add a pinch of sage. Use a blend of gouda and cheddar for a smoky depth. The sweet earthiness of squash pairs wonderfully with the creamy sauce.
Protein‑Packed
Add a cup of cooked, shredded chicken or turkey for a heartier meal. The protein absorbs the sauce, making each bite juicy and satisfying. This is a great option for meal‑prep enthusiasts.
Vegan Victory
Replace sour cream with coconut yogurt, use a plant‑based cheese alternative, and swap the breadcrumb topping for panko mixed with melted vegan butter. The flavor profile stays rich while the dish becomes completely plant‑based.
Herbaceous Green
Stir in a handful of fresh spinach and a tablespoon of chopped fresh dill just before baking. The spinach wilts into the sauce, adding a subtle earthiness, while the dill brightens the overall flavor.
Storing and Bringing It Back to Life
Fridge Storage
Allow the casserole to cool completely, then cover tightly with aluminum foil or a lid. It will keep in the refrigerator for up to 4 days. When reheating, sprinkle a few extra breadcrumbs on top for a fresh crunch.
Freezer Friendly
Portion the uncooked casserole into freezer‑safe containers, cover, and freeze for up to 3 months. Thaw overnight in the fridge, then bake as directed, adding an extra 10 minutes to the cooking time. This is perfect for busy weeks.
Best Reheating Method
Preheat the oven to 350°F (175°C), uncover the casserole, and heat for 15‑20 minutes until the center is hot and the topping regains its crispness. Add a tiny splash of water (about a tablespoon) before reheating; the steam it creates revives the sauce’s silkiness without making it watery.